When my friend invited me over for an impromptu gathering last weekend, I felt that familiar rush of excitement mixed with a touch of panic. What could I bring that would stand out, be fun, and – let’s be honest – wouldn’t require hours in the kitchen? That’s when I remembered a delightful recipe that had been hiding in my collection: Sheet Pan Red Velvet Cake.
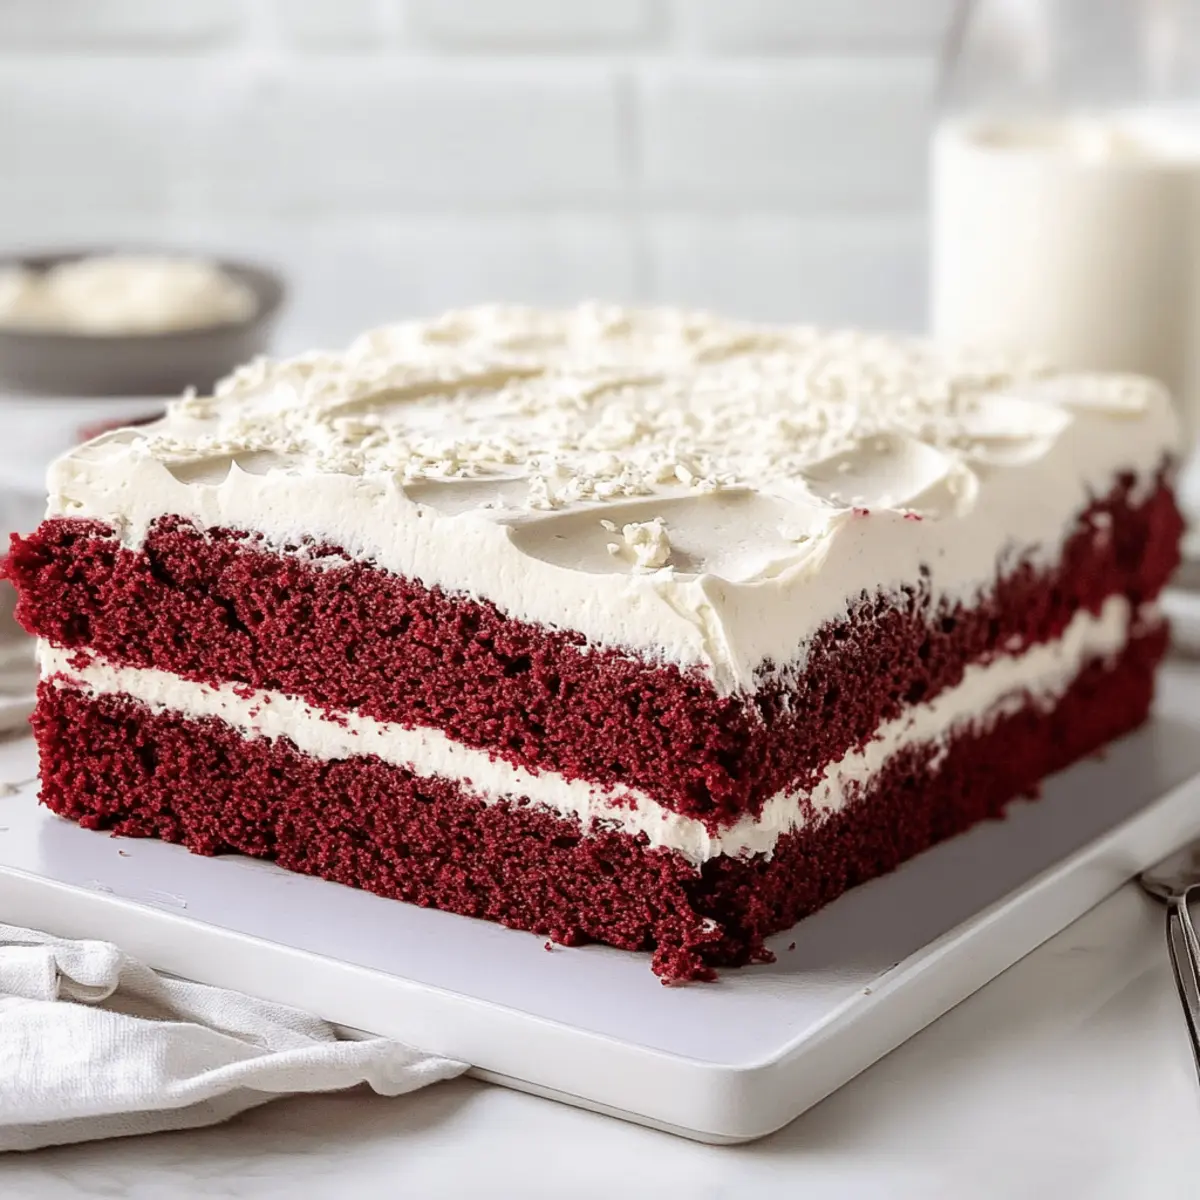
Imagine a soft, velvety cake drenched in a luscious ermine frosting, all effortlessly baked on a single sheet pan. The vibrant red color is like a cheerful invitation to indulge, making it perfect for any occasion, from a cozy get-together to a birthday party. Plus, using mayonnaise in the batter not only makes it incredibly moist but also adds a surprising depth of flavor that will leave everyone guessing about your secret ingredient.
Get ready to impress your friends and family with this simple yet stunning dessert that proves that homemade can also be hassle-free! Let’s dive into the recipe and make some magic happen in the kitchen!
Why is Sheet Pan Red Velvet Cake a Must-Try?
Irresistible flavors unite in this vibrant dessert, making it a crowd-pleaser at any gathering.
Quick and easy to prepare, you’ll be in and out of the kitchen in no time.
Moist and rich, thanks to the surprise ingredient of mayonnaise, it offers a flavor experience that’s simply unforgettable.
Visually stunning, the bright red hue stands out, turning every occasion into a celebration.
Make-ahead magic means you can chill this cake overnight, making entertaining a breeze!
Dive into this delightful recipe and bring joy to your table!
Sheet Pan Red Velvet Cake Ingredients
For the Cake
• All-purpose flour – 2 cups (250 g); this is the base for structure in your cake.
• Granulated sugar – 2 cups (400 g); adds sweetness and balances the cocoa.
• Baking soda – 1 teaspoon; a key leavening agent that helps the cake rise.
• Baking powder – 1 teaspoon; ensures your cake has that fluffy texture.
• Unsweetened cocoa powder – ⅓ cup (39 g); adds depth to the cake’s flavor.
• Kosher salt – 1 teaspoon; enhances the sweetness and flavors overall.
• Mayonnaise – 1 cup (232 g); gives the cake its signature moistness and richness.
• Large eggs – 2; binds ingredients together for a cohesive batter.
• Buttermilk – 1 cup (245 g); adds acidity, making for a tender crumb.
• Vanilla extract – 2 teaspoons; infuses a warm, inviting flavor.
• Red gel food coloring – 4 tablespoons; gives the cake its iconic vibrant hue.
• Hot water – ½ cup; helps dissolve the cocoa and enhances the cake’s moisture.
• Distilled white vinegar – 1 teaspoon; reacts with baking soda for extra lift.
For the Frosting
• Whole milk – 2 cups (490 g); provides creaminess and richness for the frosting.
• All-purpose flour – 10 tablespoons; thickens the frosting for the perfect consistency.
• Unsalted butter – 2 cups (4 sticks / 454 g); helps create that luscious, creamy taste.
• Granulated sugar – 2 cups (400 g); sweetens your frosting to balance out the cake.
• Vanilla extract – 2 teaspoons; gives a beautiful aroma and flavor to the frosting.
Dive into these Sheet Pan Red Velvet Cake ingredients and prepare for a baking adventure that’s sure to impress!

How to Make Sheet Pan Red Velvet Cake
-
Preheat your oven to 325°F. Prepare a 10×15-inch jelly roll pan by lining it with parchment paper and giving it a light spray of nonstick cooking spray for easy release.
-
Whisk together the dry ingredients in a large bowl. Combine the all-purpose flour, granulated sugar, baking soda, baking powder, cocoa powder, and kosher salt until evenly mixed.
-
Mix the wet ingredients in another bowl. In a medium bowl, whisk together mayo, eggs, buttermilk, vanilla extract, red gel food coloring, hot water, and vinegar until smooth and creamy.
-
Combine wet and dry ingredients. Gradually add the wet mixture to the dry ingredients, stirring gently until just combined. Avoid overmixing, as this helps maintain a tender crumb.
-
Pour the batter into the prepared pan. Spread it evenly, making sure to smooth the top. Bake for 35-40 minutes, or until a toothpick inserted into the center comes out with a few moist crumbs.
-
Cool the cake. Transfer it to a wire rack and allow it to cool to room temperature. This ensures that the cake sets properly for frosting later on.
-
Chill the cake for easy handling. Place it in the freezer for about 10-15 minutes or refrigerate (covered) for at least 1 hour, or overnight if desired, to make moving it simpler.
-
Prepare the ermine frosting while the cake cools. This step is critical for adding that creamy goodness on top.
Optional: Garnish with sprinkles or edible glitter for an extra festive touch!
Exact quantities are listed in the recipe card below.
What to Serve with Sheet Pan Red Velvet Cake?
Indulge in a complete celebratory meal that complements the rich flavors and vibrant color of this delightful cake.
-
Vanilla Ice Cream: A classic pairing, the creamy vanilla ice cream adds a refreshing contrast to the moist cake, creating a perfect balance.
-
Fresh Berries: Strawberries or raspberries add a vibrant burst of tartness that cuts through the sweetness, enhancing every bite of your red velvet treat.
-
Cream Cheese Mousse: This light, fluffy addition echoes the cake’s rich flavors while providing a silky texture that tantalizes the palate.
-
Chocolate Milkshake: The blend of rich chocolate and creamy milk elevates the indulgence, making it an irresistible way to wash down your dessert.
-
Whipped Cream Topping: A dollop of freshly whipped cream brings a lightness to the cake, so every slice feels celebratory and airy.
-
Mint Iced Tea: A refreshing, cool drink with subtle mint flavors provides a delightful contrast to the sweetness of the cake.
-
Almond Biscotti: Crisp and nutty, almond biscotti makes for a fun, crunchy counterpart to the soft texture of the cake, perfect for dipping in your coffee.
-
Decadent Chocolate Sauce: Drizzle some warm chocolate sauce over the cake for an extra layer of richness that will have everyone coming back for seconds.
Sheet Pan Red Velvet Cake Variations
Don’t hesitate to let your creativity shine and tweak this delightful recipe to suit your taste!
-
Gluten-Free: Replace all-purpose flour with a 1:1 gluten-free baking blend for a delicious alternative everyone can enjoy.
-
Vegan: Swap eggs and buttermilk for flax eggs and plant-based milk to create a vegan version without sacrificing moisture.
-
Chocolate Twist: Add ½ cup of mini chocolate chips into the batter for an extra layer of chocolatey goodness that everyone will love.
-
Cream Cheese Frosting: Substitute the ermine frosting with cream cheese frosting for a tangy flavor that complements the red velvet perfectly.
-
Spiced Up: Toss in 1 teaspoon of cinnamon or nutmeg to the cake batter for a warm, aromatic twist that offers a cozy feel.
-
Berry Good: Layer fresh raspberries or strawberries on top of the frosting for a burst of juicy flavor and a beautiful visual appeal.
-
Nutty Addition: Fold in ½ cup of chopped nuts like walnuts or pecans for added texture and an earthy crunch that contrasts beautifully with the soft cake.
-
Reduced Sugar: Cut down the granulated sugar in the batter and frosting to suit your preference while maintaining the cake’s deliciousness.
Feel free to mix and match these ideas to create your perfect Sheet Pan Red Velvet Cake experience!
Make Ahead Options
These Sheet Pan Red Velvet Cake options are perfect for busy home cooks looking to save time! You can prepare the cake batter up to 24 hours in advance; simply mix and store it in an airtight container in the fridge to maintain freshness. Additionally, once baked and cooled, the cake can be stored in the refrigerator, covered, for up to 3 days. To ensure the cake remains moist, slice it just before serving and keep it chilled until ready to frost and enjoy. When you’re ready to impress your guests, simply whip up the ermine frosting and spread it on the cake for a delightful treat that’s just as delicious as if freshly made!
Expert Tips for Sheet Pan Red Velvet Cake
-
Perfect Measurements: Ensure you measure your flour correctly. Too much can lead to a dense cake. Use the spoon-and-level method to avoid this common mistake.
-
Don’t Overmix: Gently combine your wet and dry ingredients. Overmixing can develop gluten, making your cake less tender and airy.
-
Bake Just Right: Keep an eye on the baking time. A toothpick should come out with a few moist crumbs for that perfect texture; don’t wait until it comes out completely clean.
-
Chill for Ease: After baking, chilling the cake allows for easier frosting application. Do let it cool before popping it in the freezer so it doesn’t freeze solid.
-
Experiment with Color: For a more vibrant hue, consider adding a bit more gel food coloring. Just a touch can elevate the visual appeal of your Sheet Pan Red Velvet Cake!
-
Flavor Boosting Frosting: Don’t skip the ermine frosting! It complements the rich cake beautifully. Let the frosting cool slightly before spreading for smoother application.
Storage Tips for Sheet Pan Red Velvet Cake
Room Temperature: Store leftover cake in an airtight container at room temperature for up to 3 days to maintain its moist texture.
Fridge: If you want to keep the cake for a longer period, refrigerate it (covered) for up to a week. Chilling helps preserve the flavor and moisture.
Freezer: For longer storage, wrap the cooled cake tightly in plastic wrap and place it in an airtight freezer container. It can be frozen for up to 2 months.
Reheating: Thaw the frozen cake overnight in the fridge. To enjoy it warm, microwave slices for about 10-15 seconds; this brings back its delightful softness.
Sheet Pan Red Velvet Cake Recipe FAQs
How do I choose the right ingredients for my Sheet Pan Red Velvet Cake?
Absolutely! When selecting your ingredients, opt for fresh, high-quality items. Look for all-purpose flour that isn’t expired, and ensure your baking soda and baking powder are active. For the cocoa powder, a good brand without added sugar works best. When it comes to food coloring, gel is preferred as it yields a more vibrant hue with less liquid.
How should I store leftover Sheet Pan Red Velvet Cake?
For sure! To keep your leftover cake at room temperature, store it in an airtight container for up to 3 days. If you want to extend its life, move it to the fridge, where it can last for up to a week. Just make sure it’s covered to maintain moisture and flavor!
Can I freeze my Sheet Pan Red Velvet Cake?
Yes, very much! To freeze your cake, wrap it tightly in plastic wrap once it’s completely cooled. Then, place it in an airtight freezer container. It can be frozen for up to 2 months. When you’re ready to enjoy it, thaw it overnight in the fridge. If you want it warm, microwave individual slices for about 10-15 seconds to revive that delightful softness.
What if my cake turns out too dense or dry?
Oh no! If your cake is dense, it could be due to overmixing. Remember, mix the wet and dry ingredients just until combined. If the cake feels dry, this might be a sign that it was overbaked or that too much flour was used. Make sure to spoon-and-level your flour when measuring. A good technique to test for doneness is to insert a toothpick; some moist crumbs should cling to it.
Are there any dietary considerations for the Sheet Pan Red Velvet Cake?
Definitely! If you have guests with dietary restrictions, you can modify the cake accordingly. For a dairy-free version, substitute buttermilk with almond milk mixed with lemon juice or apple cider vinegar. To make the cake egg-free, try using flax eggs (1 tablespoon of ground flaxseed mixed with 3 tablespoons of water per egg, allowed to sit until gel-like). Always check for allergies related to the key ingredients like eggs, gluten, and dairy.
Can I customize the frosting for a unique twist?
Absolutely! While the traditional ermine frosting is delightful, you can play with flavors by adding crushed berries for a hint of fruitiness, or even a splash of espresso for a mocha twist. To make it lighter, use whipped cream cheese for a zesty flavor that complements the rich cake wonderfully. Don’t be shy to add your unique spin!
Irresistibly Easy Sheet Pan Red Velvet Cake Delight
Ingredients
Equipment
Method
- Preheat your oven to 325°F. Prepare a 10×15-inch jelly roll pan by lining it with parchment paper and giving it a light spray of nonstick cooking spray for easy release.
- Whisk together the dry ingredients in a large bowl. Combine the all-purpose flour, granulated sugar, baking soda, baking powder, cocoa powder, and kosher salt until evenly mixed.
- Mix the wet ingredients in another bowl. In a medium bowl, whisk together mayo, eggs, buttermilk, vanilla extract, red gel food coloring, hot water, and vinegar until smooth and creamy.
- Combine wet and dry ingredients. Gradually add the wet mixture to the dry ingredients, stirring gently until just combined. Avoid overmixing, as this helps maintain a tender crumb.
- Pour the batter into the prepared pan. Spread it evenly, making sure to smooth the top. Bake for 35-40 minutes, or until a toothpick inserted into the center comes out with a few moist crumbs.
- Cool the cake. Transfer it to a wire rack and allow it to cool to room temperature. This ensures that the cake sets properly for frosting later on.
- Chill the cake for easy handling. Place it in the freezer for about 10-15 minutes or refrigerate (covered) for at least 1 hour, or overnight if desired, to make moving it simpler.
- Prepare the ermine frosting while the cake cools. This step is critical for adding that creamy goodness on top.